Browse the mobility glossary →
You can’t force a stretch. If you sit in a stretch and just push deeper, your body pushes back. PAILs and RAILs are how I work with that instead of against it. You hold a passive stretch, then you contract hard into it, first one side and then the other. Over time the range you can reach becomes range you can actually use and control.
The names sound technical, but they just describe what you’re doing:
- PAILs: Progressive Angular Isometric Loading. An isometric contraction (effort with no movement) of the muscles being lengthened in the stretch. You push into the floor without changing the angle.
- RAILs: Regressive Angular Isometric Loading. An isometric contraction on the other side: the shortened tissue. You try to close the joint further, pulling yourself deeper, without leaning.
The pairing comes from Functional Range Conditioning (FRC), the system I’m certified in. In the video below I take you through the full routine for external hip rotation in real time. Nothing is sped up.
Watch the full routine
External Hip Rotation | PAILs/RAILs (13 min, follow along)
How to do PAILs and RAILs
1. Get into position and hold a passive stretch for about two minutes.
Take the joint to its end range and let it rest there with no effort. This is a passive stretch. I sit for the full two minutes because that’s about how long your body takes to realize it’s in a stretch. Don’t force it. If tension starts creeping into your knee or low back, back off. Blocks under your hands are fine if you need the height.
2. PAILs: push into the floor.
Stay at the same angle and start pushing the long side of the stretch into the floor. Picture a scale under your leg and try to make the number go up. Build the effort gradually rather than all at once. Hold for 7 to 15 seconds, up to 20.
3. RAILs: close the joint.
Now switch sides. Try to pull yourself deeper into the position by closing the joint, as if you could lift the leg off the floor. Don’t lean your bodyweight in. Do it with the muscles on the short side. You should be working hard enough that you could almost lift your hands off the floor. Hold for the same 7 to 15 seconds.
4. Relax without coming out, then repeat from the new spot.
Rest for 15 to 20 seconds without backing out of the position. If the RAILs took you a little deeper, start your next PAILs from there. Do three rounds.
5. Stay in the final position for a moment.
After the last RAILs, rest in the deepest range you’ve reached before you slowly come out. Then switch sides. The second side will probably feel different, and that’s normal.
If you start shaking or cramping, you’re not doing it wrong. That’s your nervous system working. Ease off a little if you need to, but don’t rush out of the position.
What to watch for (key moments in the video)
- 0:17, setting up the 90-90. Both knees at about 90 degrees, front shin parallel to your back thigh.
- 0:29, why two minutes. The passive stretch comes first, and you don’t skip it.
- 1:49, what PAILs and RAILs actually mean. “You basically cannot force a stretch.”
- 3:05, first PAILs. Push down like there’s a scale under your leg. 7 to 15 seconds.
- 3:50, first RAILs. Close the hip into flexion while staying in external rotation. No leaning.
- 5:46, starting PAILs from the new range. Don’t give back the ground you just gained.
- 6:16, staying in the final position. Hang out at the furthest range you’ve reached.
- 8:42, long tissue vs. short tissue. PAILs works the long side, RAILs works the short side.
- 12:48, how often. Two or three times a week.
The same idea in other hip positions
PAILs and RAILs work at any joint and in any direction. I have full follow-along videos for every direction the hip moves:
- Hip Flexion | PAILs/RAILs: seated, straight leg. Drive the heel down, then close the hip.
- Hip Extension | PAILs/RAILs: in a half-kneeling lunge. Pull the back knee down, then open the hip.
- Internal Hip Rotation | PAILs/RAILs: the “other half” of pigeon, which most yoga practices skip.
- Hip Abduction | PAILs/RAILs
Where this fits in your practice
PAILs and RAILs are training, not a test. Before you load a range, find out what you actually have. A Hip CAR shows you where your hip range of motion ends today, and an assessment maps it joint by joint. Then use PAILs and RAILs on the ranges that came up short.
Fit them into your normal routine two or three times a week. As they get easier, make the contractions stronger.
Related: How to Do a Hip CAR · How to Do a Shoulder CAR · How to Assess Your Hip Mobility: A 25-Minute Guided Routine · Glossary: PAILs · RAILs · End Range
Work within a pain-free range, and check with your physician before starting any new mobility program.
PAILs (Progressive Angular Isometric Loading) contract the lengthened tissue of a stretch: you push into the floor without changing the angle. RAILs (Regressive Angular Isometric Loading) contract the shortened tissue on the other side: you try to close the joint and pull yourself deeper without leaning. You do them back to back, PAILs first.
Start with about two minutes in a passive stretch. Then do PAILs for 7 to 15 seconds (up to 20), RAILs for the same, and rest 15 to 20 seconds without coming out of the position. Three rounds per side.
Two or three times a week, as part of your regular mobility or workout routine. They’re demanding, so you don’t need them every day.
Yes. Shaking and small cramps are your nervous system responding to effort at end range. Ease off a little if you need to and stay within your control. If tension shows up in your knee or low back instead of the stretch, back out and adjust the position.
Ready to go deeper?
Not sure which ranges to work on? Book a free 20-minute intro. It’s a short version of a full assessment, and we’ll figure out where your body needs this work most.
Book your free intro →
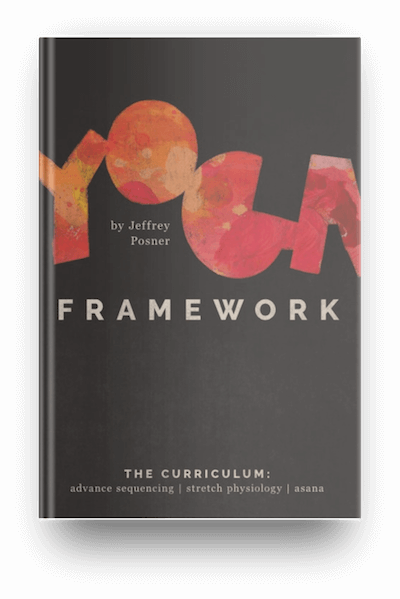
Want the whole system? Yoga Framework | The Textbook is 250 pages on the method behind PAILs, RAILs, CARs and the rest. No pictures, just the reasoning.
Get the book →